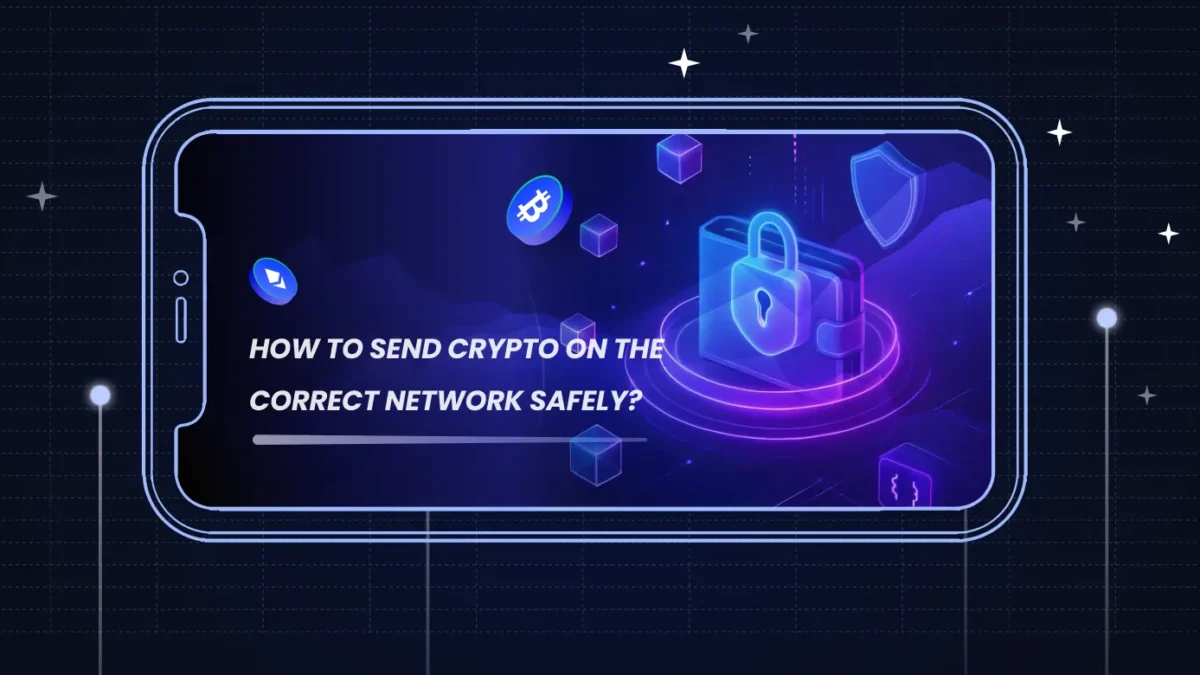


Every day, thousands of dollars worth of crypto disappear not from hacking but from simply selecting the wrong network. This is one of the most common and costly mistakes in crypto transfers today. Many users lose funds because they do not understand how networks work. This guide explains how to send crypto to the correct network in a simple, clear way. You will learn what networks are, why they matter, and how to avoid errors. By the end, you will feel more confident and will avoid costly errors. You will also learn practical steps that help you send crypto safely every time.
Key Takeaways
- Choosing the correct crypto network is essential to ensure funds reach the right wallet.
- Crypto networks act like separate systems and do not automatically interact.
- Sending crypto to the wrong network can result in permanent loss of funds.
- Always match the sender and receiver networks before confirming a transaction.
- A test transaction helps verify details and reduces the risk of errors.
- Common mistakes include selecting the wrong network, entering an incorrect address, and skipping checks.
What is a Crypto Network?
A crypto network is a decentralized system that validates, processes, and permanently records transactions on a public ledger — without any central authority. Think of it as the road your crypto travels on, with its own rules, speed, and fee structure. Different networks exist to serve different needs, such as faster transactions, lower costs, or support for smart contracts.
Choosing the right network matters, as incompatible networks don’t communicate with each other and can result in failed or lost transfers.
Also Read: What is Crypto and how it works?
Common Crypto Networks Explained
- Ethereum Network (ERC-20) – Used for smart contracts and tokens, but often has higher fees.
- Binance Smart Chain (BEP-20) – Offers faster transactions with lower fees than Ethereum.
- Bitcoin Network – Designed for secure peer-to-peer transfer of Bitcoin.
- Polygon Network – Improves Ethereum speed and reduces transaction costs.
- Solana Network – Provides very fast transactions with low fees and high scalability.
Each network operates independently with its own infrastructure and rules. Crypto sent on one network may not appear on another unless proper solutions are used.
How to Identify the Right Crypto Network Before Sending?
Here are the steps you should follow before sending crypto. These steps help you avoid mistakes and ensure a smooth transfer process. Taking a few minutes to verify details can save you from losing funds.
Step 1: Check What Network the Receiver Supports
Always ask or verify which network the receiving wallet accepts. Many wallets support multiple networks, but not all. You should confirm this detail before initiating any transaction.
Step 2: Match the Network on the Sender Side
Ensure that the selected network matches exactly on both platforms. Even similar network names can create confusion for beginners. A mismatch here can result in funds being lost or stuck.
Step 3: Cross-check the Wallet Address Format
Different networks have different wallet address formats. You should check if the address structure matches the selected network. This adds an extra layer of confirmation before sending crypto.
Step 4: Send a Test Transaction First
Send a small amount before transferring large funds. This helps you confirm that the network and address are correct. Once successful, you can proceed with the full transaction confidently.
Also Read: What is a Crypto Wallet?
How to Send Crypto on the Correct Network?
Here are the steps to send crypto to the correct network. Each step is important and helps ensure that your funds reach the right destination safely. Take your time and verify all details before confirming the transaction.
Step 1: Log in to Your Crypto Platform
Open your exchange or wallet account and go to the withdrawal section. Make sure you are using a secure device and internet connection. This helps protect your account from unauthorized access during the transaction.
Step 2: Select the Crypto You Want to Send
Choose the correct token to transfer. Ensure that the selected token matches what the receiver expects. Sending the wrong token can result in failed transactions or loss of funds.
Step 3: Paste the Receiver Wallet Address Carefully
Copy the wallet address exactly and paste it into the required field. Avoid typing the address manually to reduce errors. Always recheck the first and last few characters before proceeding.
Step 4: Select the Correct Network
Choose the same network that the receiver supports. This is the most critical step in the process. A network selection mismatch can lead to a permanent loss of funds.
Step 5: Enter the Transfer Amount
Input the amount you want to send and review the transaction fees. Ensure that you have enough balance to cover both the transfer and the fees. This helps avoid transaction failures.
Step 6: Review All Transaction Details
Carefully check the wallet address, selected network, and transfer amount. Take a moment to verify every detail before confirming. This step helps you catch mistakes before they become irreversible.
Step 7: Complete Security Verification
Enter OTP or authentication details required by the platform. This step adds an extra layer of security to your transaction. It ensures that only you can authorize the transfer.
Step 8: Track the Transaction Status
Use the transaction ID to track progress on the blockchain explorer. This helps you confirm whether the transaction is pending or completed. You can also share this ID with the receiver for verification.
Most Common Mistakes When Sending Crypto
Below are some of the most common mistakes users make while sending crypto. Understanding these errors can help you avoid losses and improve the safety of your transactions.
Sending ERC-20 Tokens to a BEP-20 Address
Many users confuse ERC-20 and BEP-20 networks because they look similar. Sending tokens to the wrong standard can prevent funds from reaching the wallet. Always match the token standard with the correct network.
Choosing the Cheapest Network Without Verification
Users often select the lowest fee option without checking compatibility. This can lead to failed or lost transactions. Always confirm that the receiver supports the selected network.
Copying the Wrong Wallet Address
Copying an old or incorrect wallet address can send funds to the wrong destination. This mistake is irreversible once the transaction is confirmed. Always double-check the address before sending.
Skipping Test Transactions
Many users skip test transfers to save time or fees. This increases the risk of large losses if something goes wrong. A small test transaction helps confirm all details are correct.
Ignoring Network Warnings on Platforms
Crypto platforms often show warnings during withdrawals. Ignoring these alerts can lead to costly mistakes. Always read and understand platform prompts before confirming a transaction.
Avoid these mistakes by double-checking every detail before sending.
What to Do If You Sent Crypto on the Wrong Network
If you sent crypto on the wrong network, do not panic and act quickly. First, check if the receiving wallet supports the network you used for the transfer. Some wallets support multiple networks, allowing you to access funds through manual configuration or network switching. You should also verify the transaction status using the transaction ID to understand where the funds are.
If the wallet does not support that network, contact the customer support of both platforms immediately. In some cases, recovery may be possible with technical assistance, especially if you control the private keys. However, recovery depends on compatibility between networks and wallets. In many cases, funds sent to the wrong network cannot be recovered, making prevention extremely important.
Pre-Send Safety Checklist
Before sending crypto, it is important to follow a simple checklist to reduce risks. Many mistakes result from small oversights that are easily avoidable. Taking a few extra seconds to verify key details can help protect your funds and ensure a smooth transaction.
Use the checklist below as a quick guide before every transfer. It helps you stay consistent and avoid common errors while sending crypto on the correct network.
| Checkpoint | What to Verify | Why It Matters |
| Wallet Address | Correct and complete address | Prevents sending funds to the wrong user |
| Network Selection | Matches receiver’s network exactly | Avoids loss due to network mismatch |
| Token Type | Correct token standard selected | Ensures the transfer is supported |
| Test Transaction | A small amount was sent first | Confirms all details are accurate |
| Fees | Network fees are reviewed before sending | Avoids unexpected deductions |
Following this checklist improves your confidence and reduces the chances of costly mistakes. Over time, this habit can make your crypto transactions safer and more reliable.
Conclusion
Sending crypto to the correct network is a simple yet essential step every user must follow. Small mistakes, such as choosing the wrong network or address, can lead to permanent loss of funds. Always take a moment to verify the network, wallet address, and token type before sending. Using test transactions and following a checklist can make your transfers safer and more reliable. Platforms like CoinDCX also guide users with clear steps and warnings. With the right habits, you can send crypto safely and avoid common errors.
FAQs
Q1. What happens if I send crypto on the wrong network?
Your funds may not reach the receiver if the network does not match. In some cases, recovery is possible if the wallet supports that network. However, in many situations, especially with exchange wallets, funds may be lost permanently.
Q2. Can wrong-network transactions be reversed?
No, blockchain transactions are final and cannot be reversed once confirmed. There is no central authority to cancel the transfer. This is why checking details before sending is very important.
Q3. What is ERC-20 vs BEP-20?
ERC-20 is a token standard on Ethereum, while BEP-20 runs on Binance Smart Chain. They may look similar, but they operate on different networks. They are not directly interchangeable.
Q4. Should I send a test transaction first?
Yes, a small test transaction helps confirm that the address and network are correct. It reduces the risk of losing large amounts due to errors.
Q5. How do I confirm network compatibility?
Check the receiving wallet or platform for supported networks before sending. Always match the same network on both the sender and receiver sides.


